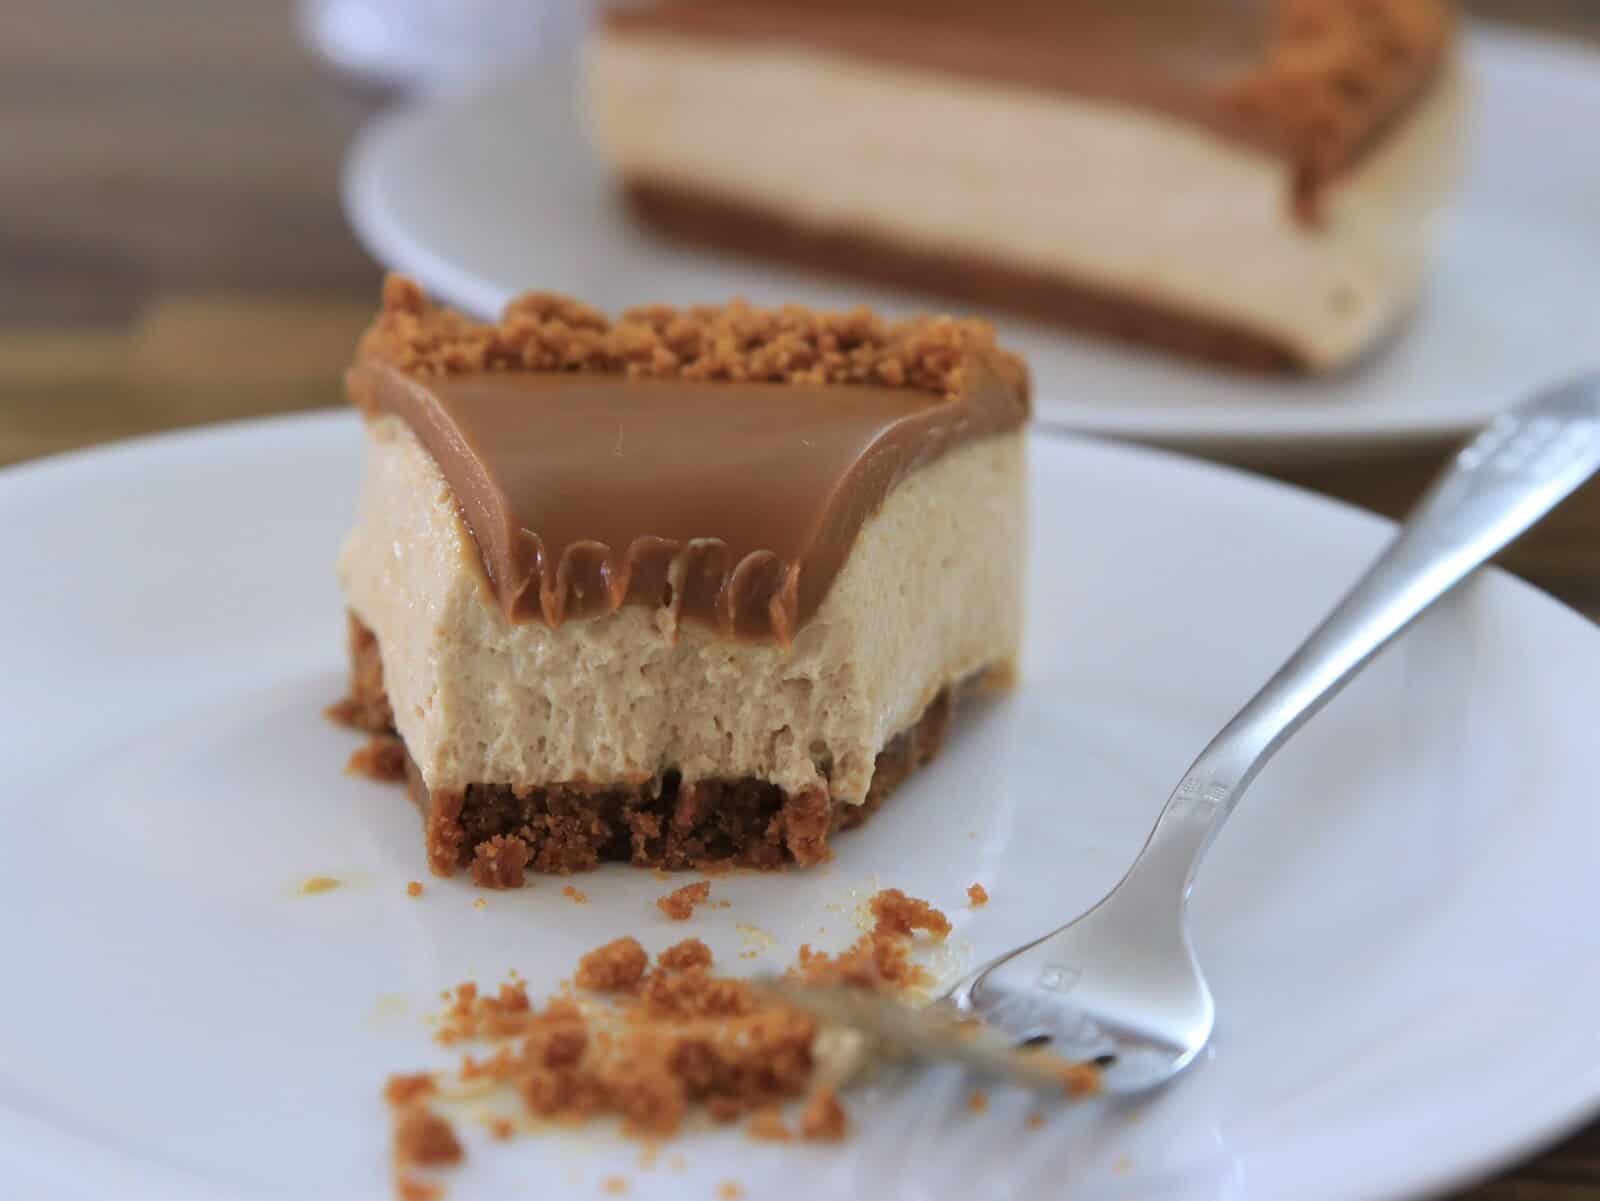
Easy No-Bake Biscoff Cheesecake
This post may contain affiliate links.
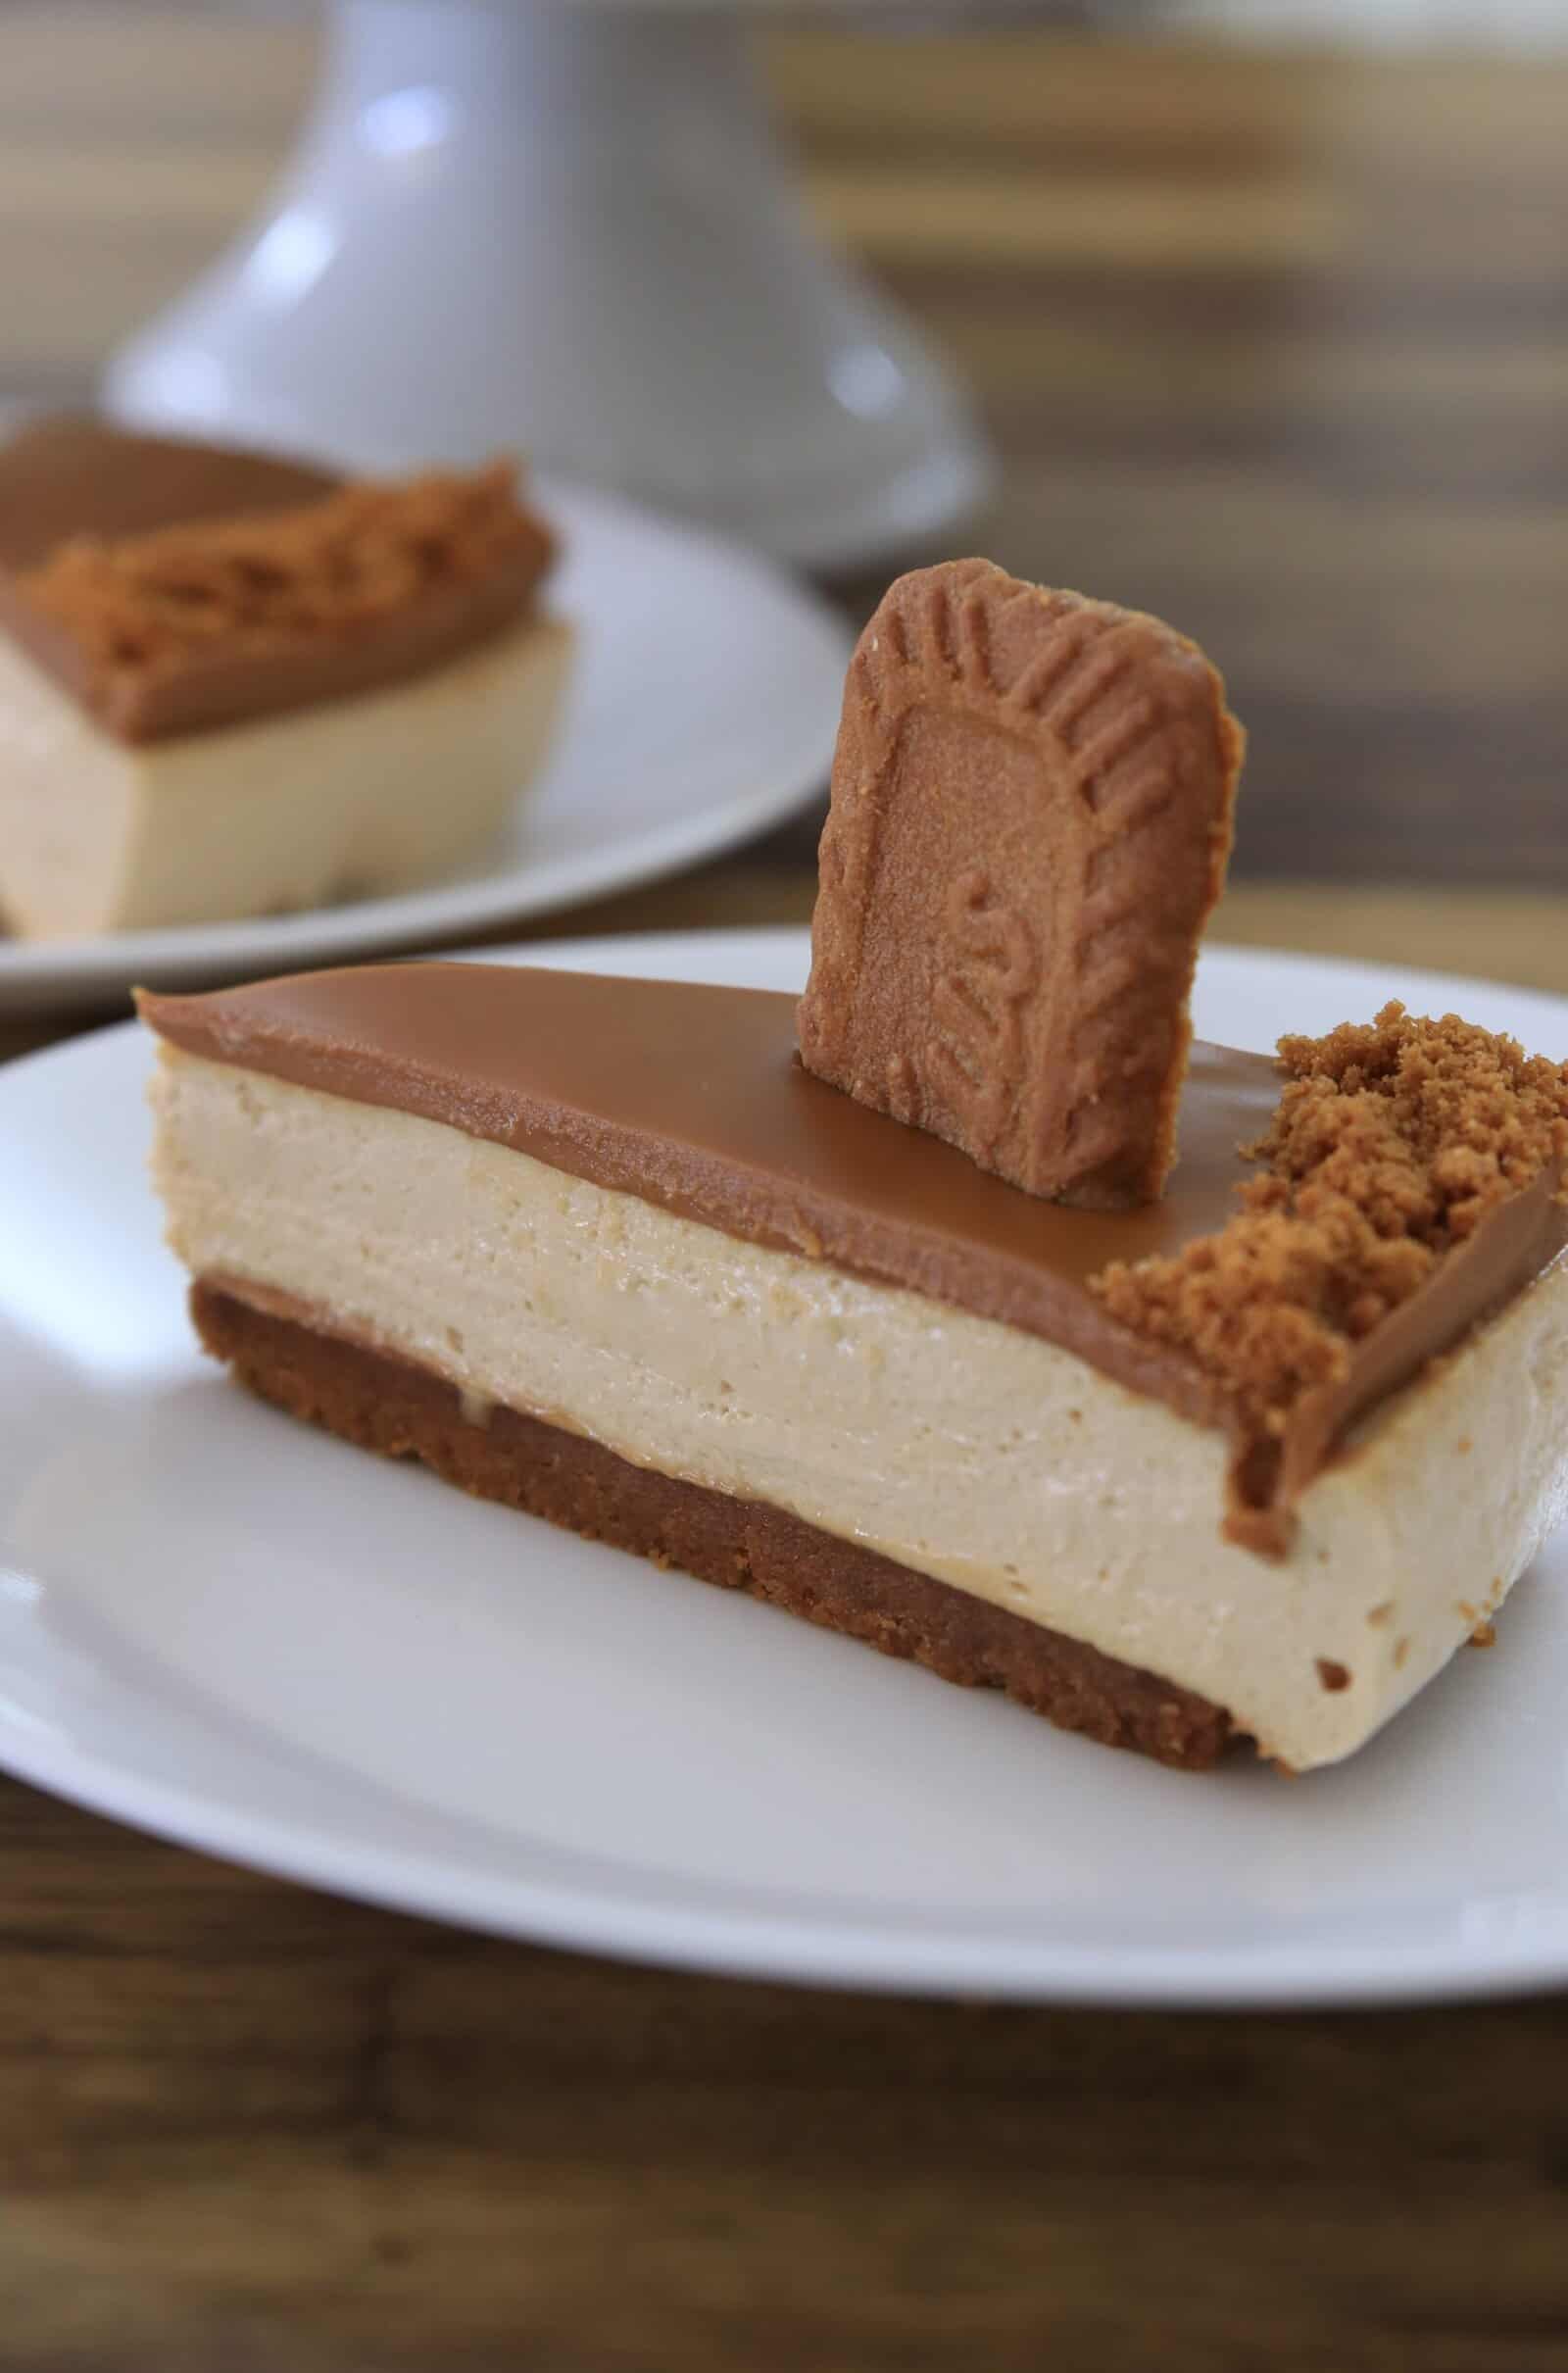
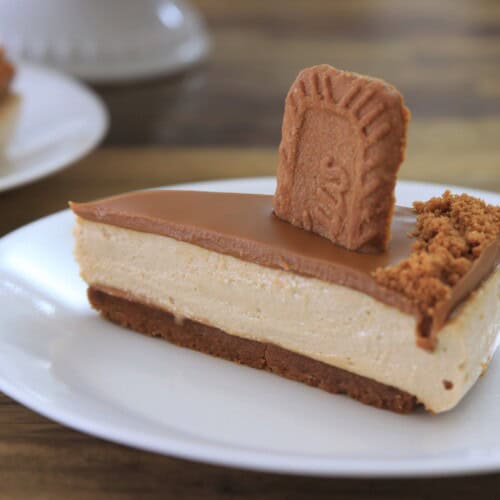
If you’re looking for a warmly spiced, light yet decadent dessert that’s certain to impress, look no further than my No-Bake Biscoff Cheesecake recipe! With a double whammy of Lotus Biscoff goodness in both the crust and filling, this cookie butter cheesecake is an 8-ingredient masterpiece you’ll make again and again.
Cheesecake recipes are one of my specialties, and this no-bake Biscoff cheesecake is one for the books. With a presentation as impressive as my no-bake kinder bueno cheesecake and a flavor akin to my Lotus Biscoff layered cake-meets-Biscoff panna cotta, it’s a dinner party centerpiece waiting to happen.
Why You’ll Love No Bake Lotus Biscoff Cheesecake
- With over 1.4 million views and more than 34,000 likes on the accompanying YouTube video recipe, this easy Biscoff dessert recipe has taken the world by storm. Try it yourself and you’ll understand why it’s gone viral!
- Considering there’s just 20 minutes of active prep time and no chef-y tricks required, this no-bake cookie butter cheesecake is well within your reach, even if you’re a total newbie. Oh, and there’s only 8 ingredients needed, which makes shopping a breeze.
- Whether your oven is occupied with a Thanksgiving turkey or it’s too hot outside to turn it on, no-bake cheesecakes are the perfect year-round, low-lift dessert solution. And, while I personally prefer the warmly-spiced flavor for cooler weather, the beauty of Biscoff is it has no season. Enjoy it all year round!
How to Make No-Bake Biscoff Cheesecake
Watch the full video recipe to learn how to make the BEST No-Bake Cookie Butter Cheesecake. This step-by-step tutorial simplifies the process, offering tips and tricks to guarantee perfect results every time.
Prefer the written recipe? Scroll down to the recipe box 👇
Ingredients & Substitutions
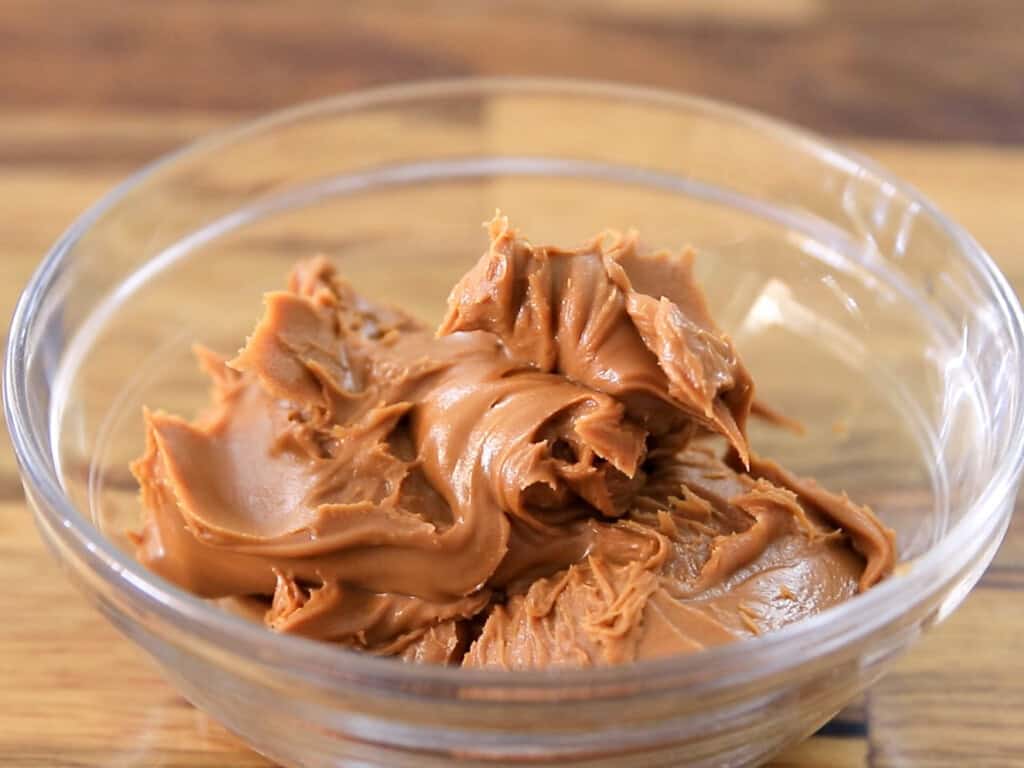
- Lotus Biscoff Cookies & Cookie Butter – Lotus Biscoff is the most widely recognized brand name for what are known as speculoos cookies. Their cookie butter is a soft spread with the consistency of Jif peanut butter littered with cookie crumbs. Feel free to swap in other crisp spice cookies (e.g. windmill cookies) and any brand of cookie butter.
- Cream Cheese – Make sure to reach for full-fat block-style cream cheese for the best results. You can use slightly lighter neufchatel cheese if preferred.
- Heavy Cream – Also known as double cream, this is the richest dairy of them all! You can also use slightly lighter whipping cream.
- Powdered Sugar – This starchy sweetener helps give our no-bake cheesecake body and a silky smooth texture. If you don’t have any on hand, blitz 1 cup of granulated sugar with 1 tablespoon of cornstarch until fluffy.
- Vanilla Extract – For extra warmth and sweetness. You can use an equal amount of vanilla paste or powder if needed.
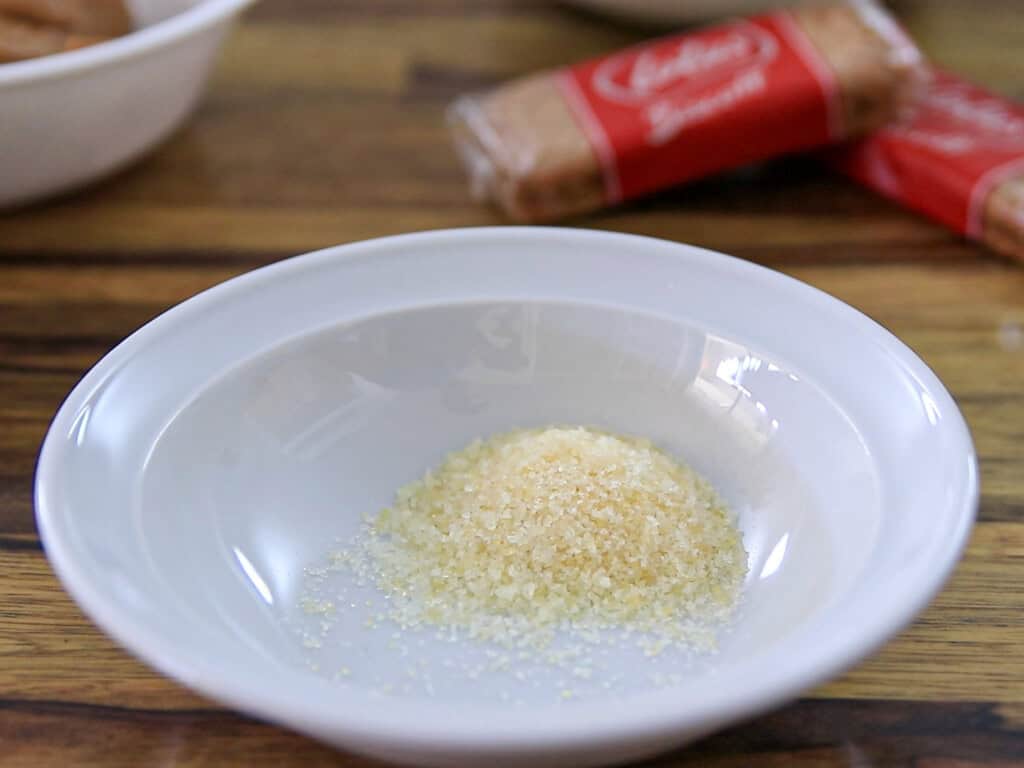
- Gelatin Powder & Water – Gelatin (the main ingredient in Jell-o) is what helps our no-bake cheesecake filling set without eggs. Note that it must first be “bloomed” in cool water before using.
This is just a short review of the ingredients; for the complete recipe, including quantities, scroll down to the recipe card
Why Gelatin is Used for No-Bake Cheesecakes
Gelatin is a natural gelling agent made from collagen, a protein found in animal connective tissue. It’s what gives your no-bake cheesecake a sliceable texture that’s firm enough to hold its shape, but still creamy and light. Without it, the filling would remain amorphous and pudding-like.

Types of Gelatin
There are two main types of gelatin used in baking:
- Powdered gelatin – Common in most home kitchens, this form comes in small granules and is measured by spoonful. It’s easy to find in grocery stores and dissolves well once bloomed and gently heated.
- Sheet Gelatin (Leaf Gelatin) – More common in professional kitchens, sheet gelatin provides consistent results and is less likely to clump. It’s available in different bloom strengths (a measure of gelling power) and needs to be soaked in cold water to soften before melting.
Both types work the same way—you’ll just need to adjust your method slightly.
How to Activate Gelatin (a.k.a. “Blooming”)
Before gelatin can do its magic, it needs to be “bloomed,” which simply means hydrating it so it dissolves evenly later.
- For powdered gelatin, sprinkle it evenly over cold water or milk (never dump it in a clump!) and let it sit for about 5-10 minutes until it swells and looks sponge-like.
- For sheet gelatin, submerge the sheets in cold water for about 5-10 minutes until soft, then squeeze out the excess water before melting it into your mixture.
After blooming, gelatin must be gently melted either by warming it over low heat or stirring it into a warm mixture. Avoid boiling it, as high heat can weaken its setting power.
How gelatin sets your cheesecake
Once dissolved and mixed into the cheesecake batter, gelatin forms a network of protein strands as it cools. This network traps the liquid and air inside, transforming your creamy filling into a stable, silky dessert. The magic happens in the fridge: as the mixture cools, the gelatin solidifies just enough to give your cheesecake a sliceable texture without sacrificing a light, creamy cheesecake consistency.
Expert Tips & Tricks
- Use room-temperature cream cheese. Cold cream cheese leads to lumps. Let it soften for at least 30 minutes before mixing for a smooth, creamy filling.
- Don’t skip the gelatin bloom. Letting the gelatin absorb cold liquid before melting activates its setting power and prevents clumping.
- Whip, but don’t overwhip. Aim for a light, airy consistency when beating cream cheese and whipped cream. Overmixing can make the filling dense or heavy.
- Cool the gelatin mixture before adding. Stir melted gelatin into your no bake biscoff cheese cake batter only when it’s lukewarm. Adding it too hot can cause the filling to seize.
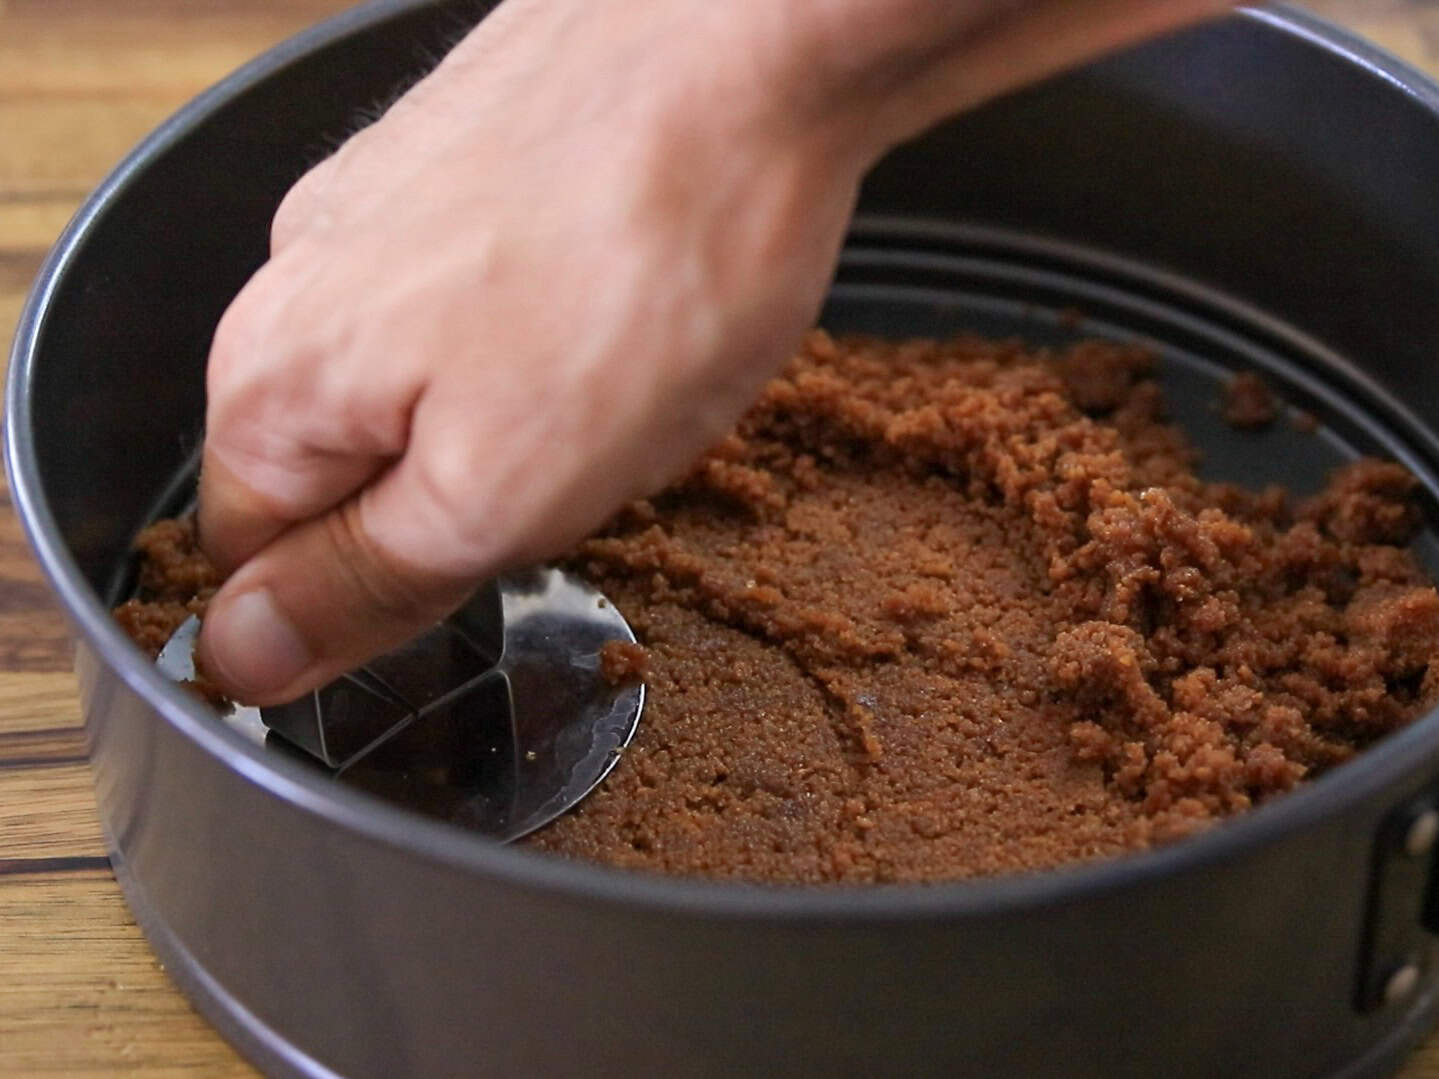
- Press the crust firmly. Use the bottom of a glass or measuring cup to compact the Biscoff cheesecake crust so it holds together neatly when sliced.
- Chill thoroughly. Allow at least 6 hours (or overnight) for the cheesecake to fully set before slicing for clean, stable pieces.
- Use a warm knife for clean cuts. Dip your knife in hot water, wipe dry, and slice. Repeat between cuts for bakery-perfect slices.
- Add toppings just before serving. Keep whipped cream and cookie crumbs fresh by adding them right before serving.
How to Serve No-Bake Biscoff Cheesecake
No-bake Biscoff cheesecake is a dessert that feels effortlessly elegant no matter how you serve it. The golden crown of cookie butter and crunchy cookies is plenty to make it feel fancy, but you can always zhuzh it up more. Add a swirl of whipped cream, a sprinkle of flaky sea salt, or a light dusting of cinnamon sugar for sparkle.
For something fresh, pair each slice with sliced strawberries, bananas, or caramelized pears to balance the rich, buttery filling with a little brightness. If you’re entertaining, try making mini biscoff cheesecakes in small jars or ramekins; they’re mess-free and portioned perfectly for guests. And of course, tahini coffee, chai, creamy eggnog, or even hot chocolate are always welcome with dessert!
Storage Instructions
- Make-Ahead – Prepare the entire no-bake cheesecake up to 2 days in advance. Keep it covered and refrigerated until serving. The extra chill time actually helps the texture firm up and deepens the cozy cookie butter flavor. Just wait to decorate until right before serving.
- Refrigeration – Store leftovers tightly covered or in an airtight container in the fridge for up to 5 days. This keeps the filling creamy and prevents it from picking up fridge odors.
- Freezing – For longer storage, slice the cheesecake and wrap each piece in plastic wrap. Place the wrapped slices in a freezer-safe container and freeze for up to 2 months. Thaw overnight in the refrigerator before serving.
- Room Temp – For best results, enjoy your cheesecake chilled straight from the fridge. Avoid leaving it at room temperature for more than 1 hour, as the filling may soften.
More Cheesecake Recipes
Easy No-Bake Biscoff Cheesecake Recipe
Equipment
Ingredients
For the crust:
- 9 oz (250 g) Lotus Biscoff cookies
- 6 tbsp (90 g) Butter melted
For the filling:
- 2½ cups (565 g) Cream cheese softened
- 7 oz (200 g) Lotus Biscoff cookie butter
- 1 cup (240 ml) Heavy cream cold
- ⅔ cup (85 g) Powdered sugar
- 1 teaspoon Vanilla extract
- 14 g Gelatin powder +70ml water
For the topping:
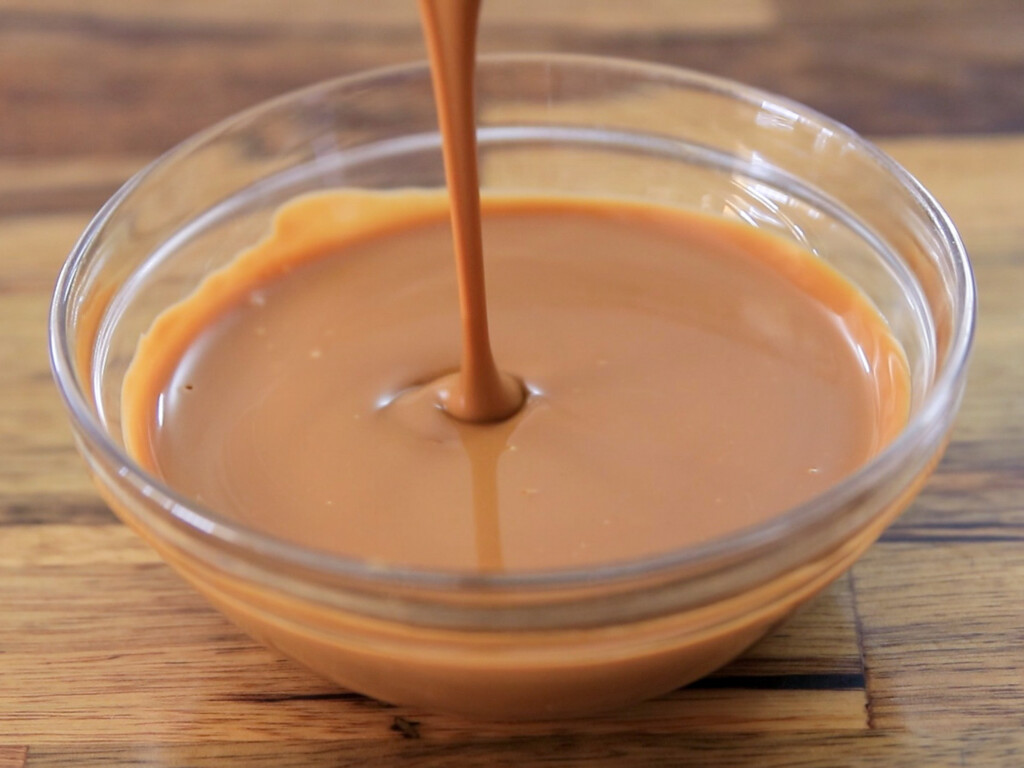
- 7 oz (200 g) Lotus Biscoff cookie butter
- 3-4 Crushed cookies
Instructions
- Prepare the crust: Crush the Biscoff cookies in a food processor or by hand in a ziplock bag until fine. Add melted butter and mix until the crumbs are evenly coated. Press the mixture firmly into the bottom of a 9-inch (23 cm) springform pan. Chill in the refrigerator while you prepare the filling.
- Bloom the gelatin: In a small bowl, combine gelatin powder with 70 ml of water. Let it sit for 10 minutes to bloom.
- Make the filling: In a large bowl, beat softened cream cheese, Biscoff cookie butter, and vanilla extract until smooth and creamy. In a separate bowl, whip cold heavy cream and powdered sugar until medium-stiff peaks form. Gently fold the whipped cream into the cream cheese mixture in two or three additions until fully combined.
- Incorporate the gelatin: Microwave the bloomed gelatin for about 15 seconds, or until fully dissolved. To prevent lumps, temper it by mixing in 2–3 tablespoons of the cheesecake batter, then pour it back into the main filling and mix well.
- Assemble and chill: Pour the cheesecake mixture over the crust, smooth the top, and freeze for about 30 minutes while you prepare the topping.
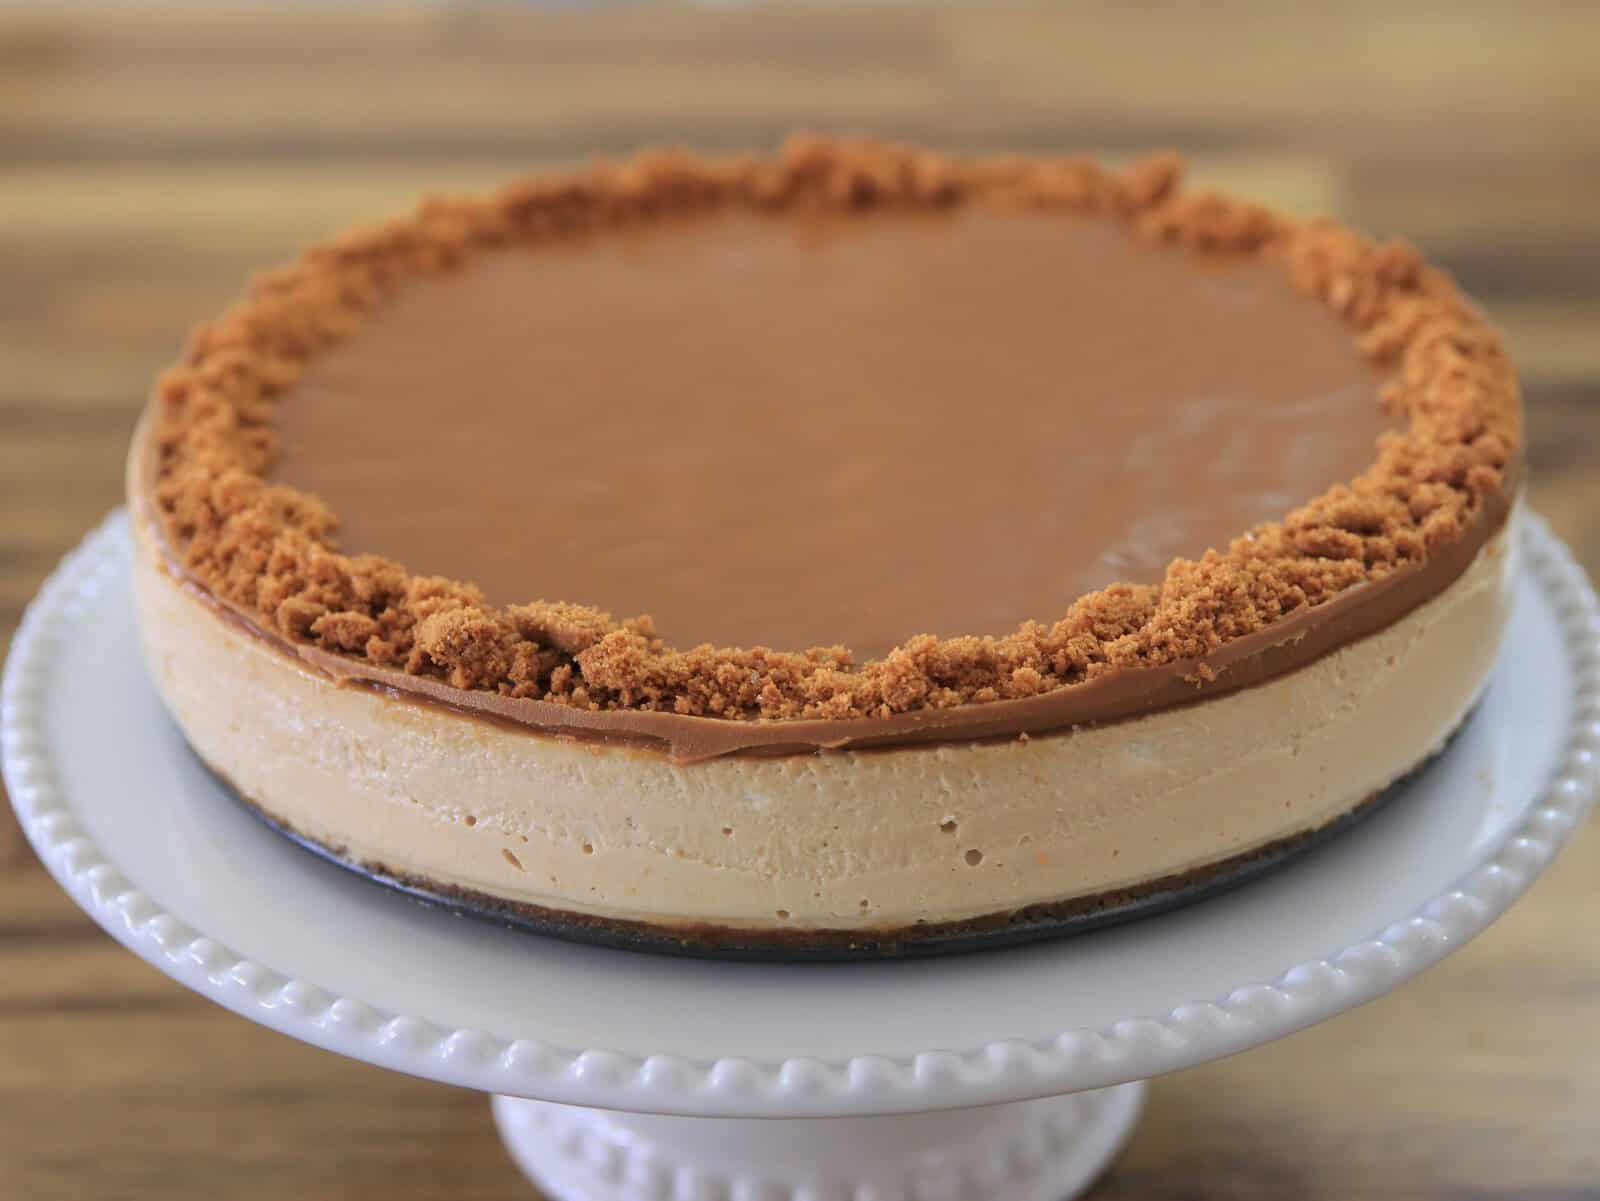
- Add the topping: Melt the cookie butter in the microwave until pourable. While still warm, pour it gently over the chilled cheesecake, tilting the pan to spread evenly. Refrigerate the cheesecake for at least 6 hours, or overnight, until set.
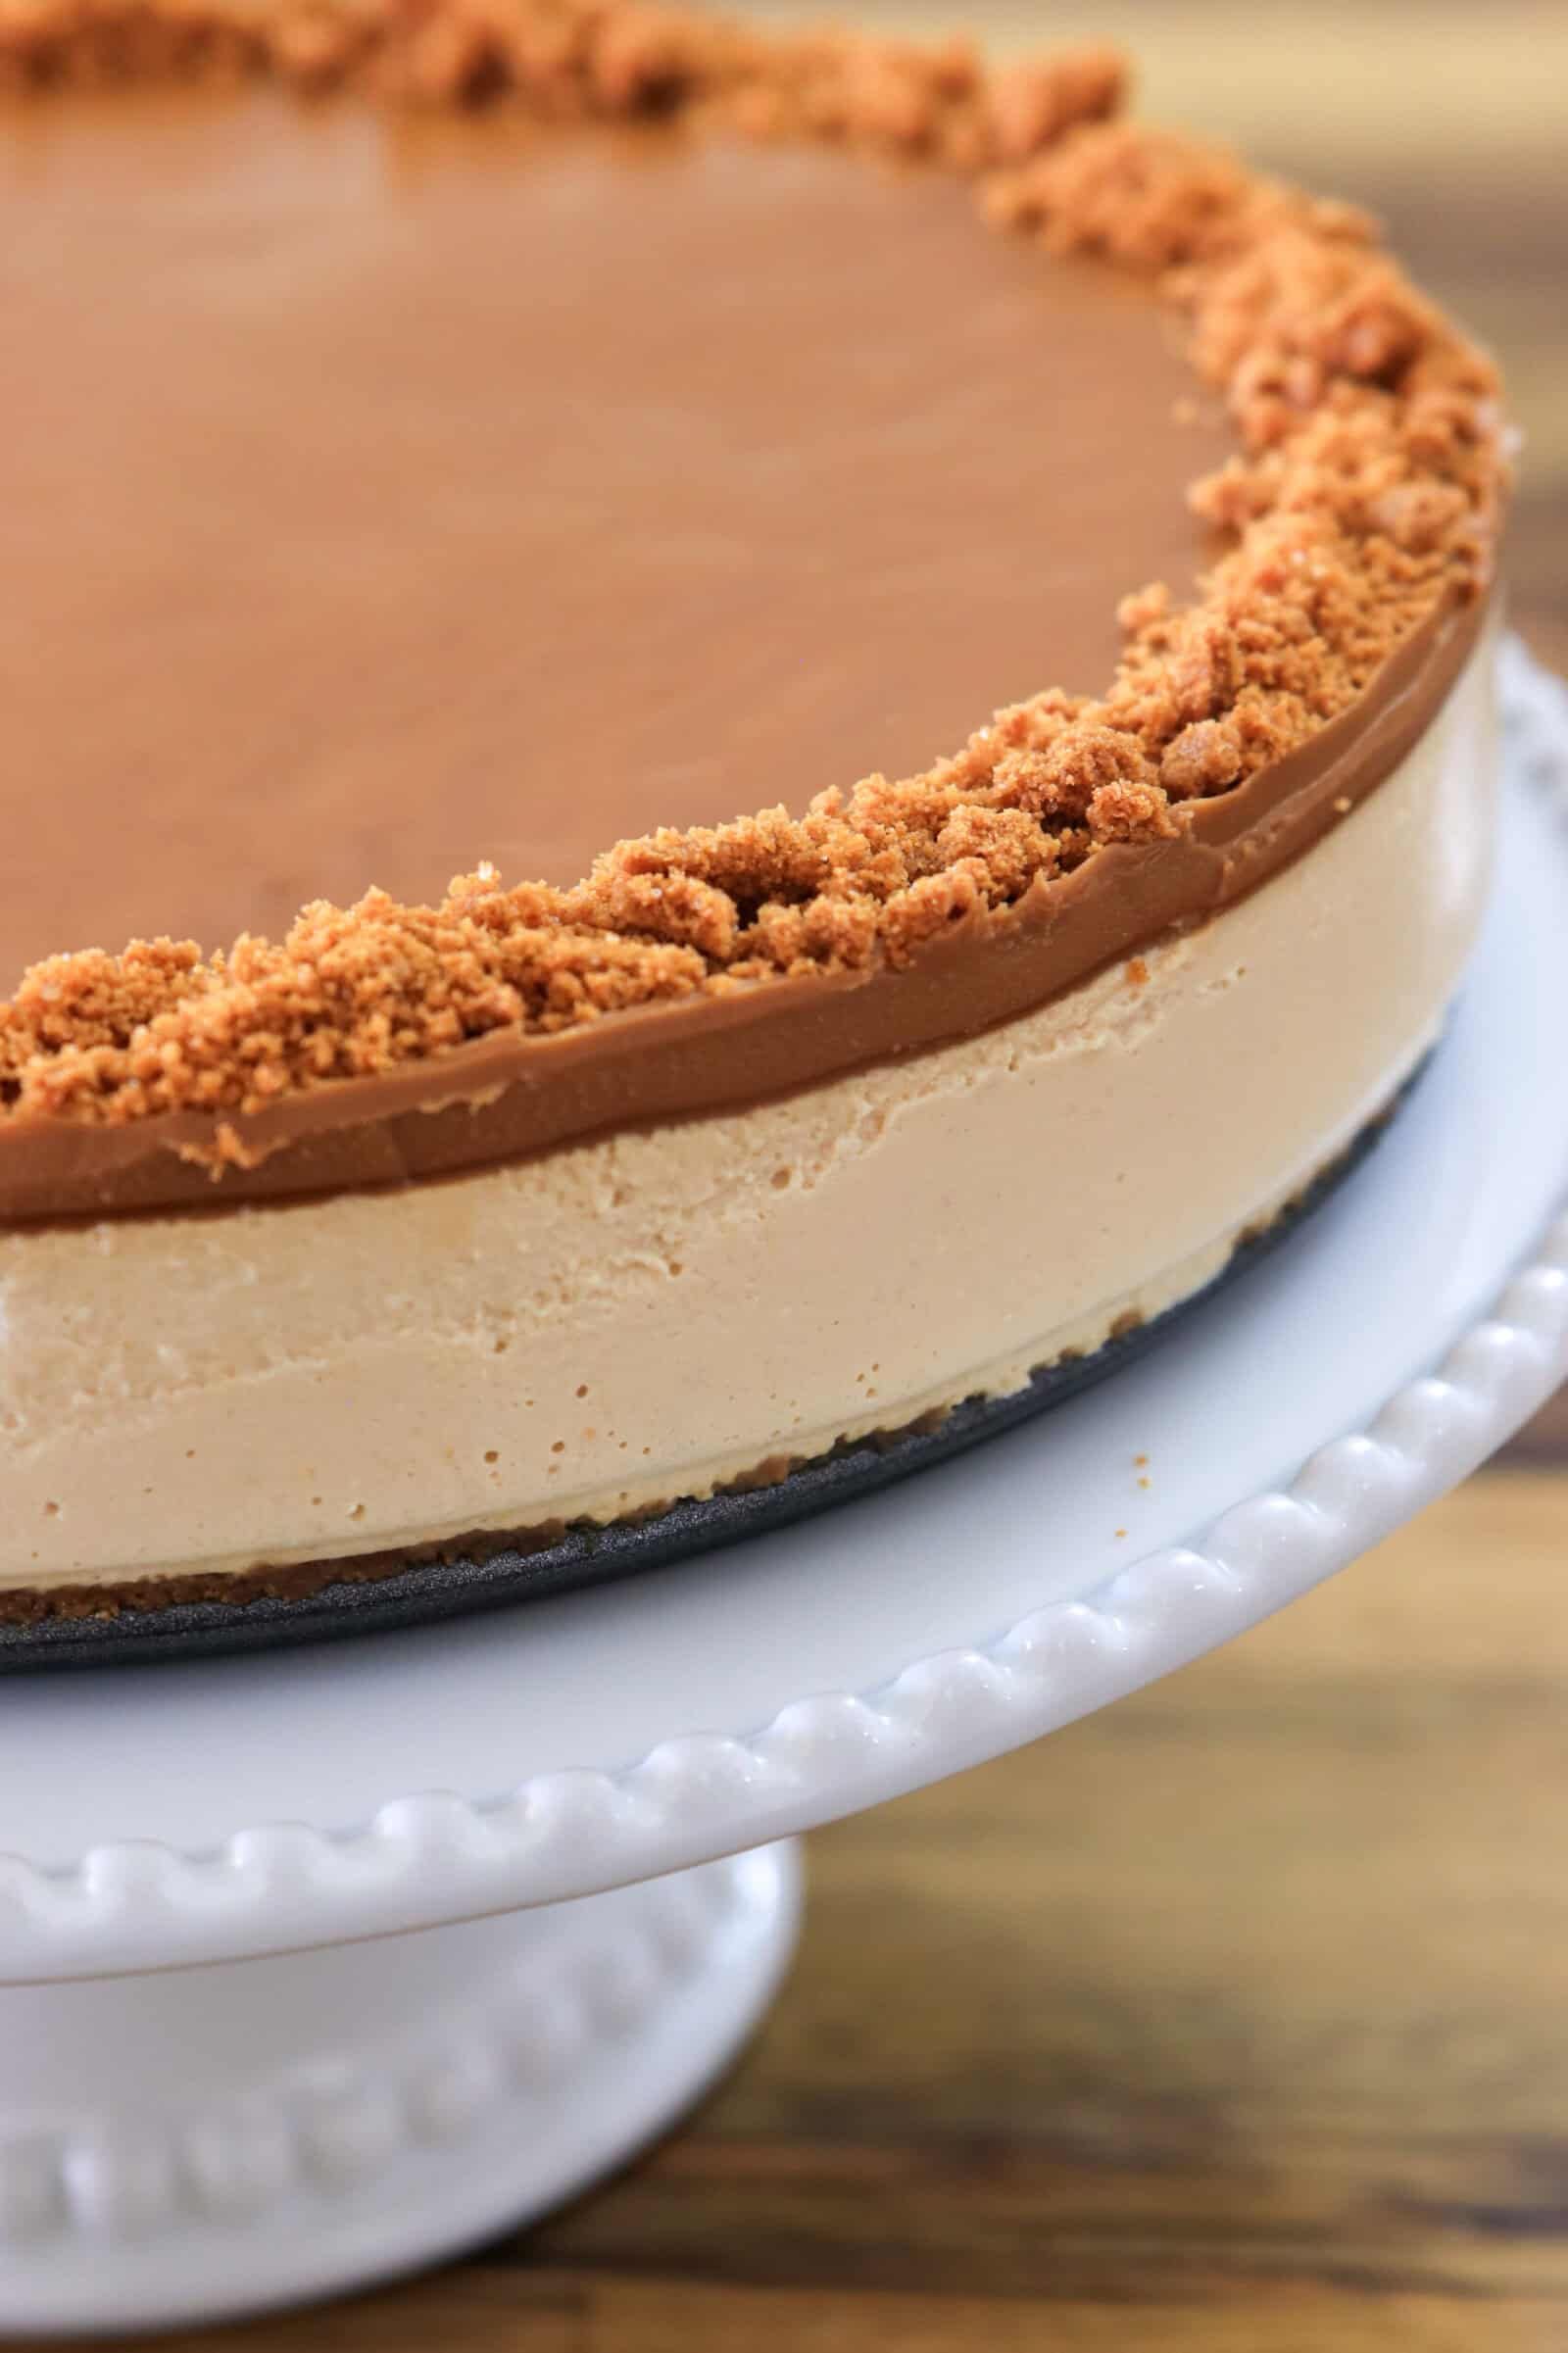
- Serve: Run a knife around the edges before releasing the cake from the pan. Garnish the edges with crushed Biscoff cookies and slice with a warm knife for clean cuts.
Video
Notes
- Gelatin: If you prefer a slightly softer texture, reduce gelatin to 10 g. For a vegetarian version, replace gelatin with agar-agar (follow package instructions).
- Cookie butter: You can use either smooth or crunchy Lotus Biscoff spread depending on your preferred texture. Warm slightly before mixing to make it easier to blend.
- Crust alternatives: Swap Biscoff cookies with digestive biscuits or graham crackers for a lighter flavor.
- Storage: Keep the cheesecake refrigerated and covered for up to 5 days. You can also freeze it (without topping) for up to 2 months; thaw overnight in the fridge before serving.
- Serving tip: For neat slices, dip your knife in hot water and wipe clean between each cut.
- Watch the Video: For a better understanding of the recipe, I always recommend watching the video recipe, which includes a step-by-step guide to help you succeed.
- FAQs: Make sure you read the FAQs for this recipe, which are located below the recipe box for additional tips and troubleshooting! For extra tips and variations, read the article.
Nutrition
Common Questions
The secret to a creamy no-bake cheesecake filling lies in balance and technique. Use room-temperature cream cheese so it blends smoothly, don’t overwhip the mixture to avoid breaking down the cream, and make sure your gelatin is properly bloomed and fully dissolved before adding it. Finally, chilling the cheesecake long enough (at least 6 hours or overnight) lets the filling set into a perfectly silky, melt-in-your-mouth texture.
Absolutely! Crushed Biscoff cookies make a delicious crust when mixed with melted butter. Plus, the cookie butter can easily be swirled into the filling like peanut butter in a no bake peanut butter cheesecake.
No-bake cheesecake thickens thanks to a combination of cream cheese, whipped cream (or whipped topping), and gelatin. The cream cheese provides structure, the whipped cream adds lightness, and the gelatin (or another stabilizer) helps the filling set firm as it chills.
Yes! While gelatin helps the cheesecake set firmly, you can make this No-Bake Lotus Biscoff Cheesecake without it. However, the texture will be much softer and less stable. The cheesecake may start melting quickly at room temperature, so it’s best kept and served straight from the freezer for a firmer consistency.
If you prefer a vegetarian or halal alternative, replace gelatin with agar-agar powder. Use about 1½ teaspoons agar-agar dissolved in 70 ml hot water and mix it into the filling while warm. It sets faster and firmer than gelatin, so work quickly.
Yes, but for the authentic Lotus Biscoff cheesecake flavor, Biscoff cookie butter (smooth or crunchy) is ideal. If unavailable, you can substitute it with any spiced caramelized biscuit spread or similar cookie butter brand.
")


")

Hello, first of I am a big fan of your recipes, I got married few years ago and didnt know how to cook a thing and thanks to maaaany of your recipes I can call myself a proper ¨housewife¨ so thank you. However for the first time I hit a bump….with the gelatine. Is my first time using gelatine so I have no idea how its supposed to react but I made the steps to the point, exactly as recipe and video show and when I addded gelatine to the mix it got al crumbled up. Tried to taste but too many pieces of gelatine so its not edible. How is it possible what did I do wrong. I tried to save it by reheating the whole mix on low temperature but…the time will tell. Tomorrow I see if the cake set up
Hi Carol,
Thank you so much for your lovely message, and congratulations on all the cooking progress you’ve made! I’m really happy my recipes have helped you along the way 😊
About the gelatin — what you’re describing most often happens because the gelatin wasn’t tempered before adding it to the cheesecake mixture. When warm gelatin is poured straight into a cold filling, the big temperature difference causes it to seize and turn into small rubbery bits.
The key step is tempering, which simply means slowly bringing both mixtures to a similar temperature before combining.
Here’s how to do it next time:
• After blooming and melting the gelatin, make sure it is fully dissolved (no grains or crystals).
• Let it cool for a minute — it should be warm and liquid, not hot.
• Add 2–3 tablespoons of the cheesecake mixture to the gelatin and whisk until smooth.
• Then slowly pour the gelatin back into the bowl while mixing continuously — this prevents lumps because the gelatin blends in gradually instead of setting on contact.
Let me know how it turned out.
David
I have 2 1/2″ by 3″ high desserts cups. How many will this recipe fill?? Recipe sounds dreamy, I want to make sure I make enough.
Honestly, I’m not 100% sure since I haven’t tested it in those exact dessert cups. But based on the total volume of the cheesecake mixture, I’d estimate this recipe should fill around 8–10 cups of that size (2½″ wide x 3″ high).
This is an excellent cheesecake!!!
I have made it twice now.
Thank you for the recipe!!
Best biscoff cheesecake recipe. thank you so much!