Easy Tiramisu Ice Cream Recipe (No Machine)
This post may contain affiliate links.
This homemade tiramisu ice cream is very easy to make without ice cream machine. Combine the delicious flavor of the classic Italian dessert with the refreshing creaminess of no churn ice cream for an indulging and impressive summer dessert!
This delicious ice cream captures the rich flavors of espresso-soaked ladyfinger cookies, velvety mascarpone cheese, and a hint of cocoa powder, that make a classic Tiramisù dessert. With each spoonful, you’ll feel like you’re eating a gelato in Italy. If you love Tiramisu, try also these Tiramisu Cupcakes Recipe or Pistachio Tiramisu Recipe.
Why you’ll love this Tiramisu Ice Cream recipe
- The best of both worlds: With the warm weather, an ice cream always hits the spot, so this tiramisu flavored ice cream is the best way to enjoy a classic dessert in a refreshing version.
- Easy to make: Making ice cream may seem difficult, but it’s easier than you might think. You only need a few ingredients, a bowl, and an electric beater.
- No churn: You don’t need any fancy equipment or tools like an ice cream maker for this recipe. It’s as easy as it can be!
- Elegant or casual: You can serve this Italian tiramisu ice cream as a snack for a party, for as an elegant after dinner dessert. It’s impressive and delicious for any occasion!
How to Make Tiramisu Ice Cream
Watch the full video recipe to learn how to make the best Tiramisu Ice Cream recipe. This step-by-step tutorial simplifies the process, offering tips and tricks to guarantee perfect results every time.
Prefer the written recipe? Scroll down to the recipe box 👇
Ingredient Notes

Here are the tiramisu ice cream ingredients you’ll need:
- Heavy Cream: Heavy whipping cream is essential to give airiness to the ice cream and give it that silky smooth texture.
- Condensed Milk: Condensed milk will also help with the creamy ice cream texture.
- Mascarpone: Mascarpone is a creamy Italian fresh cheese that’s a key ingredient in Tiramisù, giving it the classic luscious creaminess.
- Vanilla: A touch of vanilla paste will add depth of flavor to the cream.
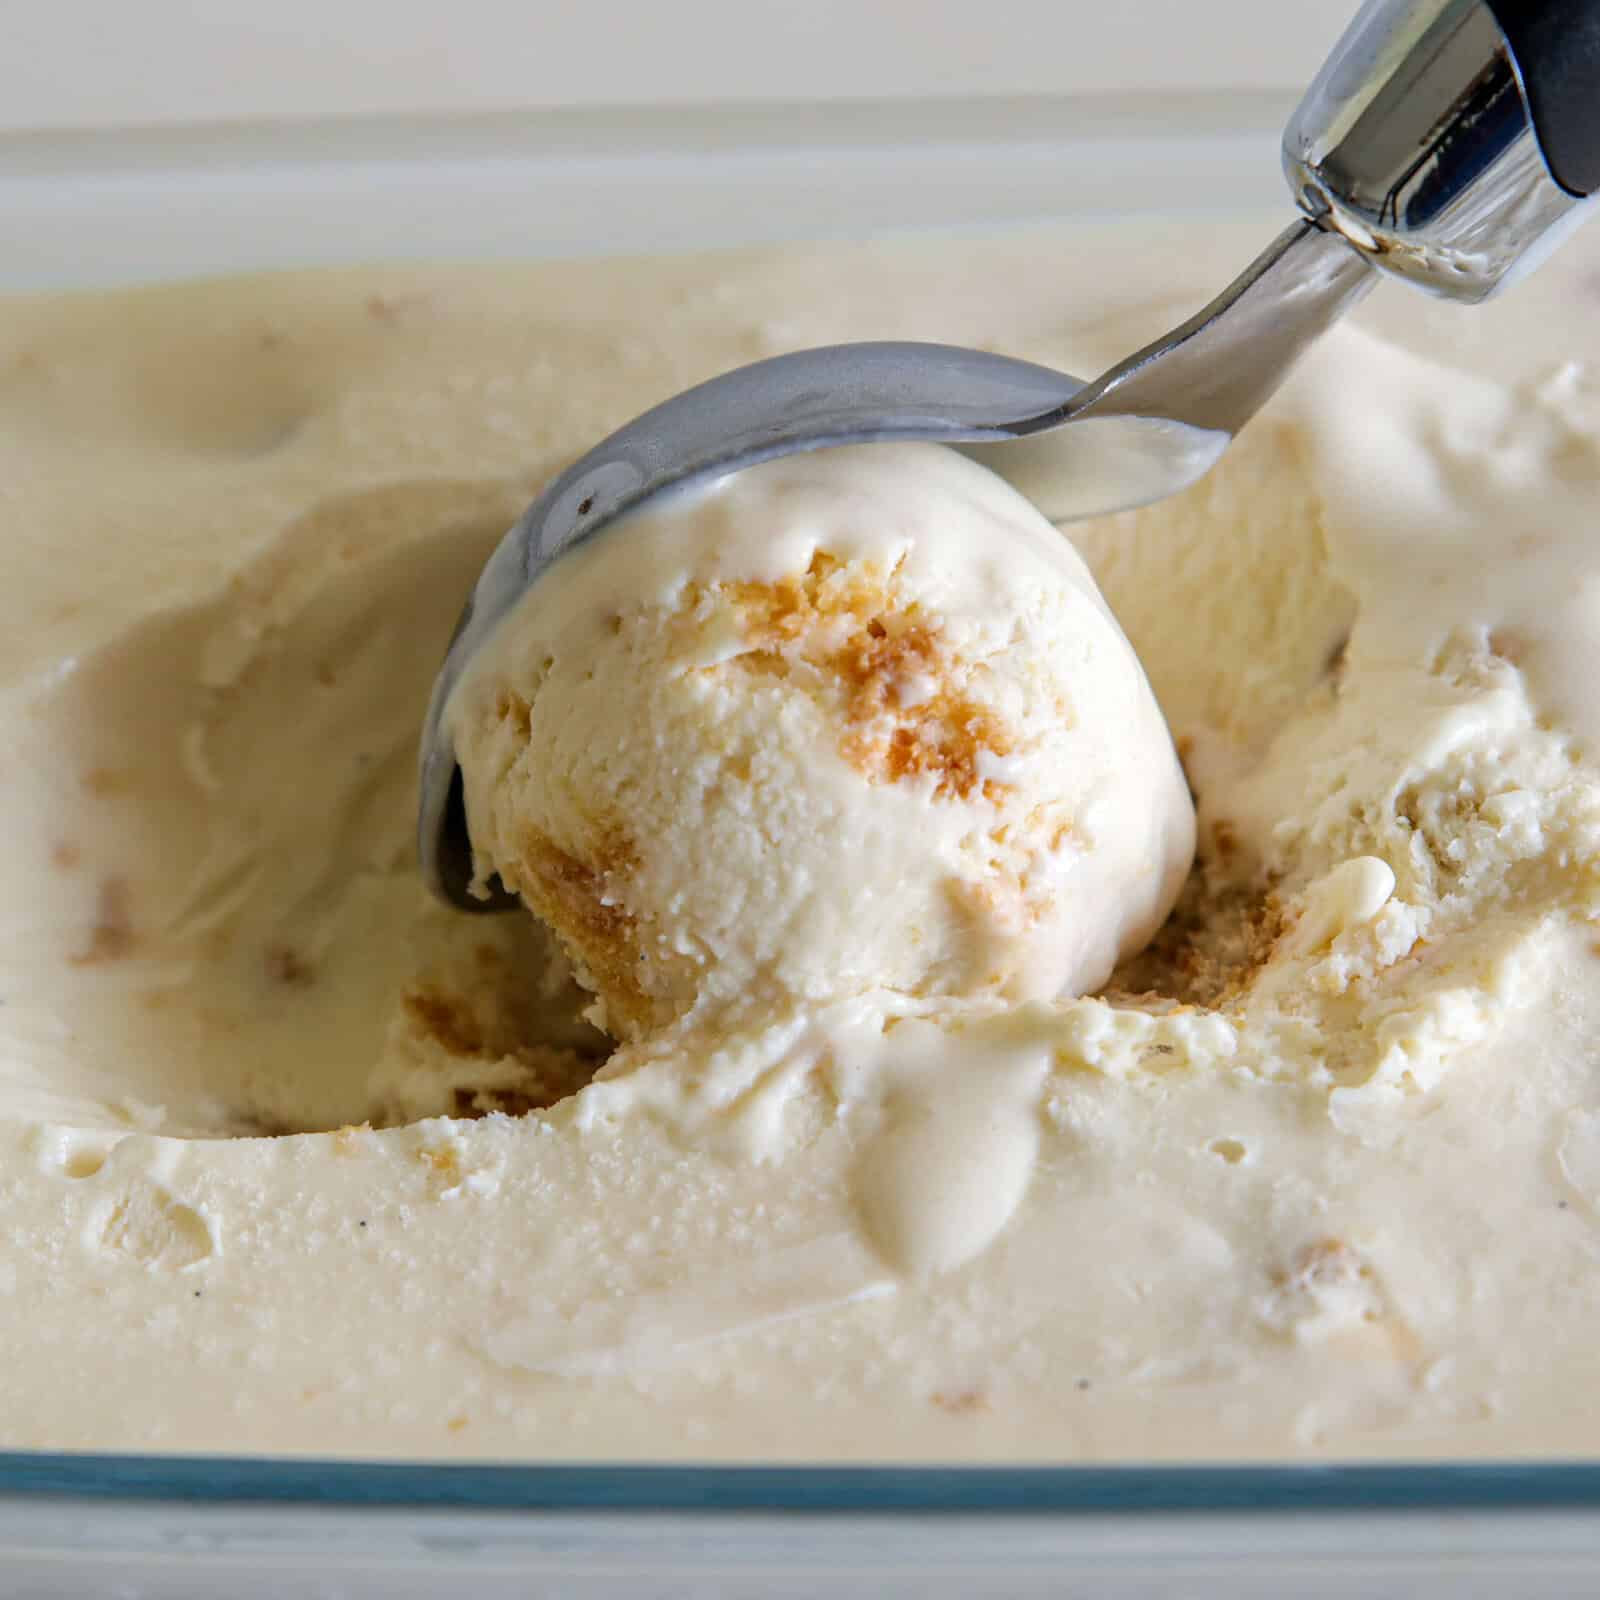
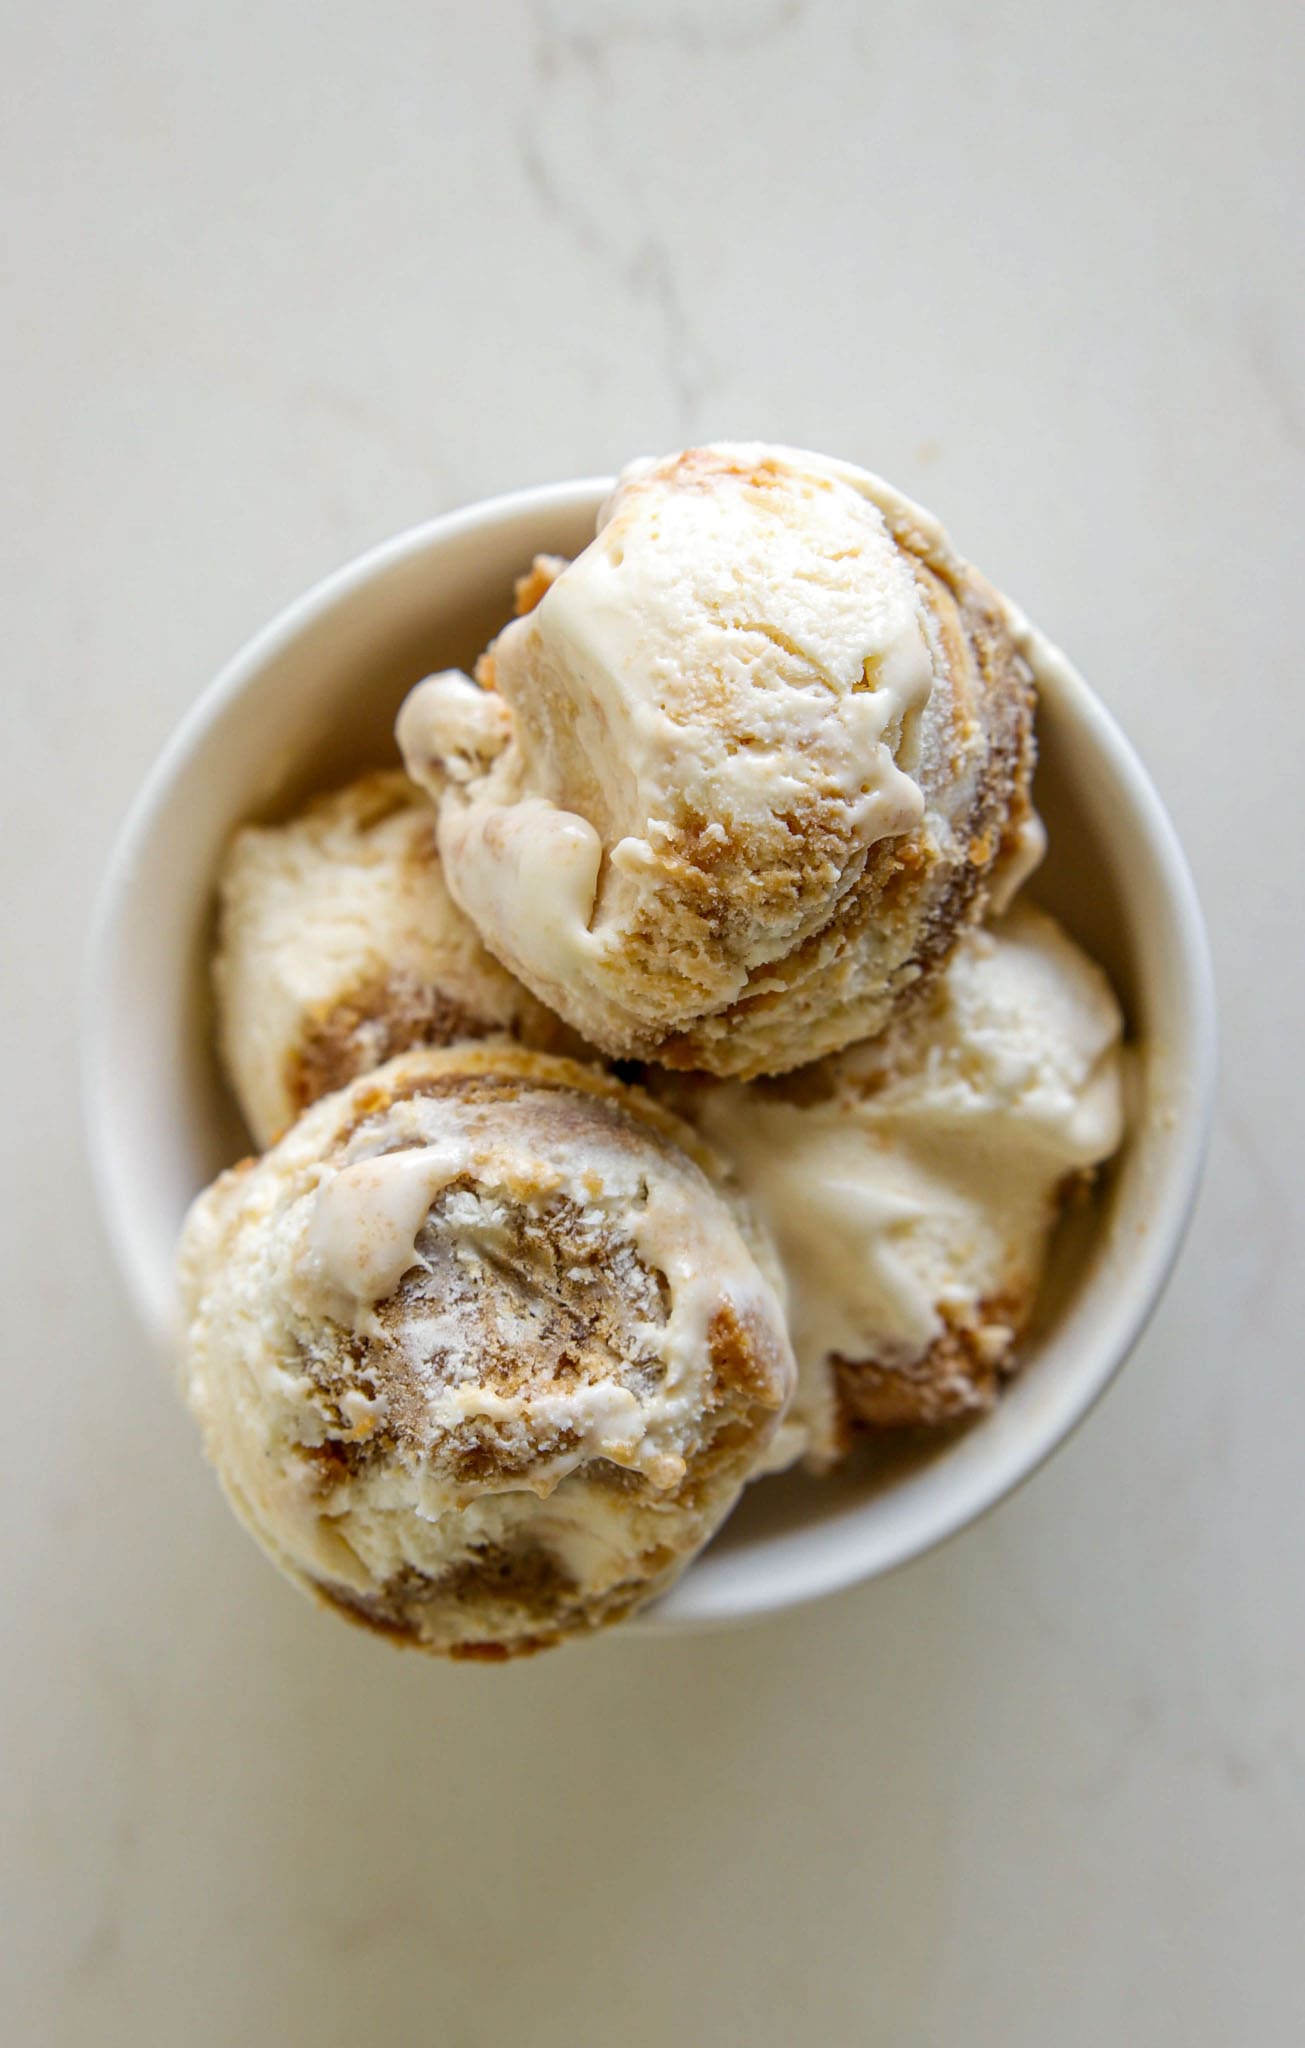
- Ladyfingers: Ladyfingers cookies are also a key ingredient in Tiramisù and they’ll add extra texture in the ice cream.
- Coffee: Use a good quality espresso for the best result. If you don’t have an espresso machine, you can also use instant espresso coffee in a pinch.
This is just a short review of the ingredients; for the complete recipe, including quantities, scroll down to the recipe card 👇
What is Tiramisù?
Tiramisu is a traditional Italian dessert made of ladyfinger cookies (called savoiardi) dipped in coffee, layered with a whipped mixture of egg yolks, sugar, and mascarpone, and topped with cocoa powder. The recipe has been adapted into many varieties of cakes and other desserts. The name comes from the Italian tirami su (‘pick me up’ or ‘cheer me up’).
This tiramisu gelato takes all the key notes of classic tiramisu and turns them into a cold, creamy treat.
Substitutions and Variations
- Mascarpone: Mascarpone is a key ingredient in this recipe, but if you can’t it, you can use Greek yogurt or cream cheese in its place.
- Lighter version: Due to the high fat content in mascarpone, this ice cream might be a bit heavy. You can replace 1/4 of the mascarpone with low-fat cream cheese, and add it after whipping the cream.
- Coffee: We use instant coffee but you can use your favorite espresso, or even use flavored coffees like caramel or hazelnut for a different twist.
- Ladyfingers: If you can’t find ladyfingers, you can use other similar cookies with an airy texture that can easily absorb liquid.
- Strawberry: Instead of dipping the ladyfingers in coffee, you can dip them in strawberry juice and add chopped strawberry for a Strawberry Tiramisu version.
Tips and Tricks
- Let the ice cream sit at room temperature for about 5-10 minutes before serving to get the best creamy consistency.
- Whip the cream to stiff peaks to give the ice creamy a soft and airy texture.
- Do not soak the ladyfingers for too long in the coffee or they’ll get too mushy and make the ice cream watery.
- Make sure the coffee is completely cooled down before dipping the ladyfingers, to avoid the heat flatten the airy cream.
- Freeze in an airtight container and in the coldest part of the freezer to avoid temperature fluctuations.
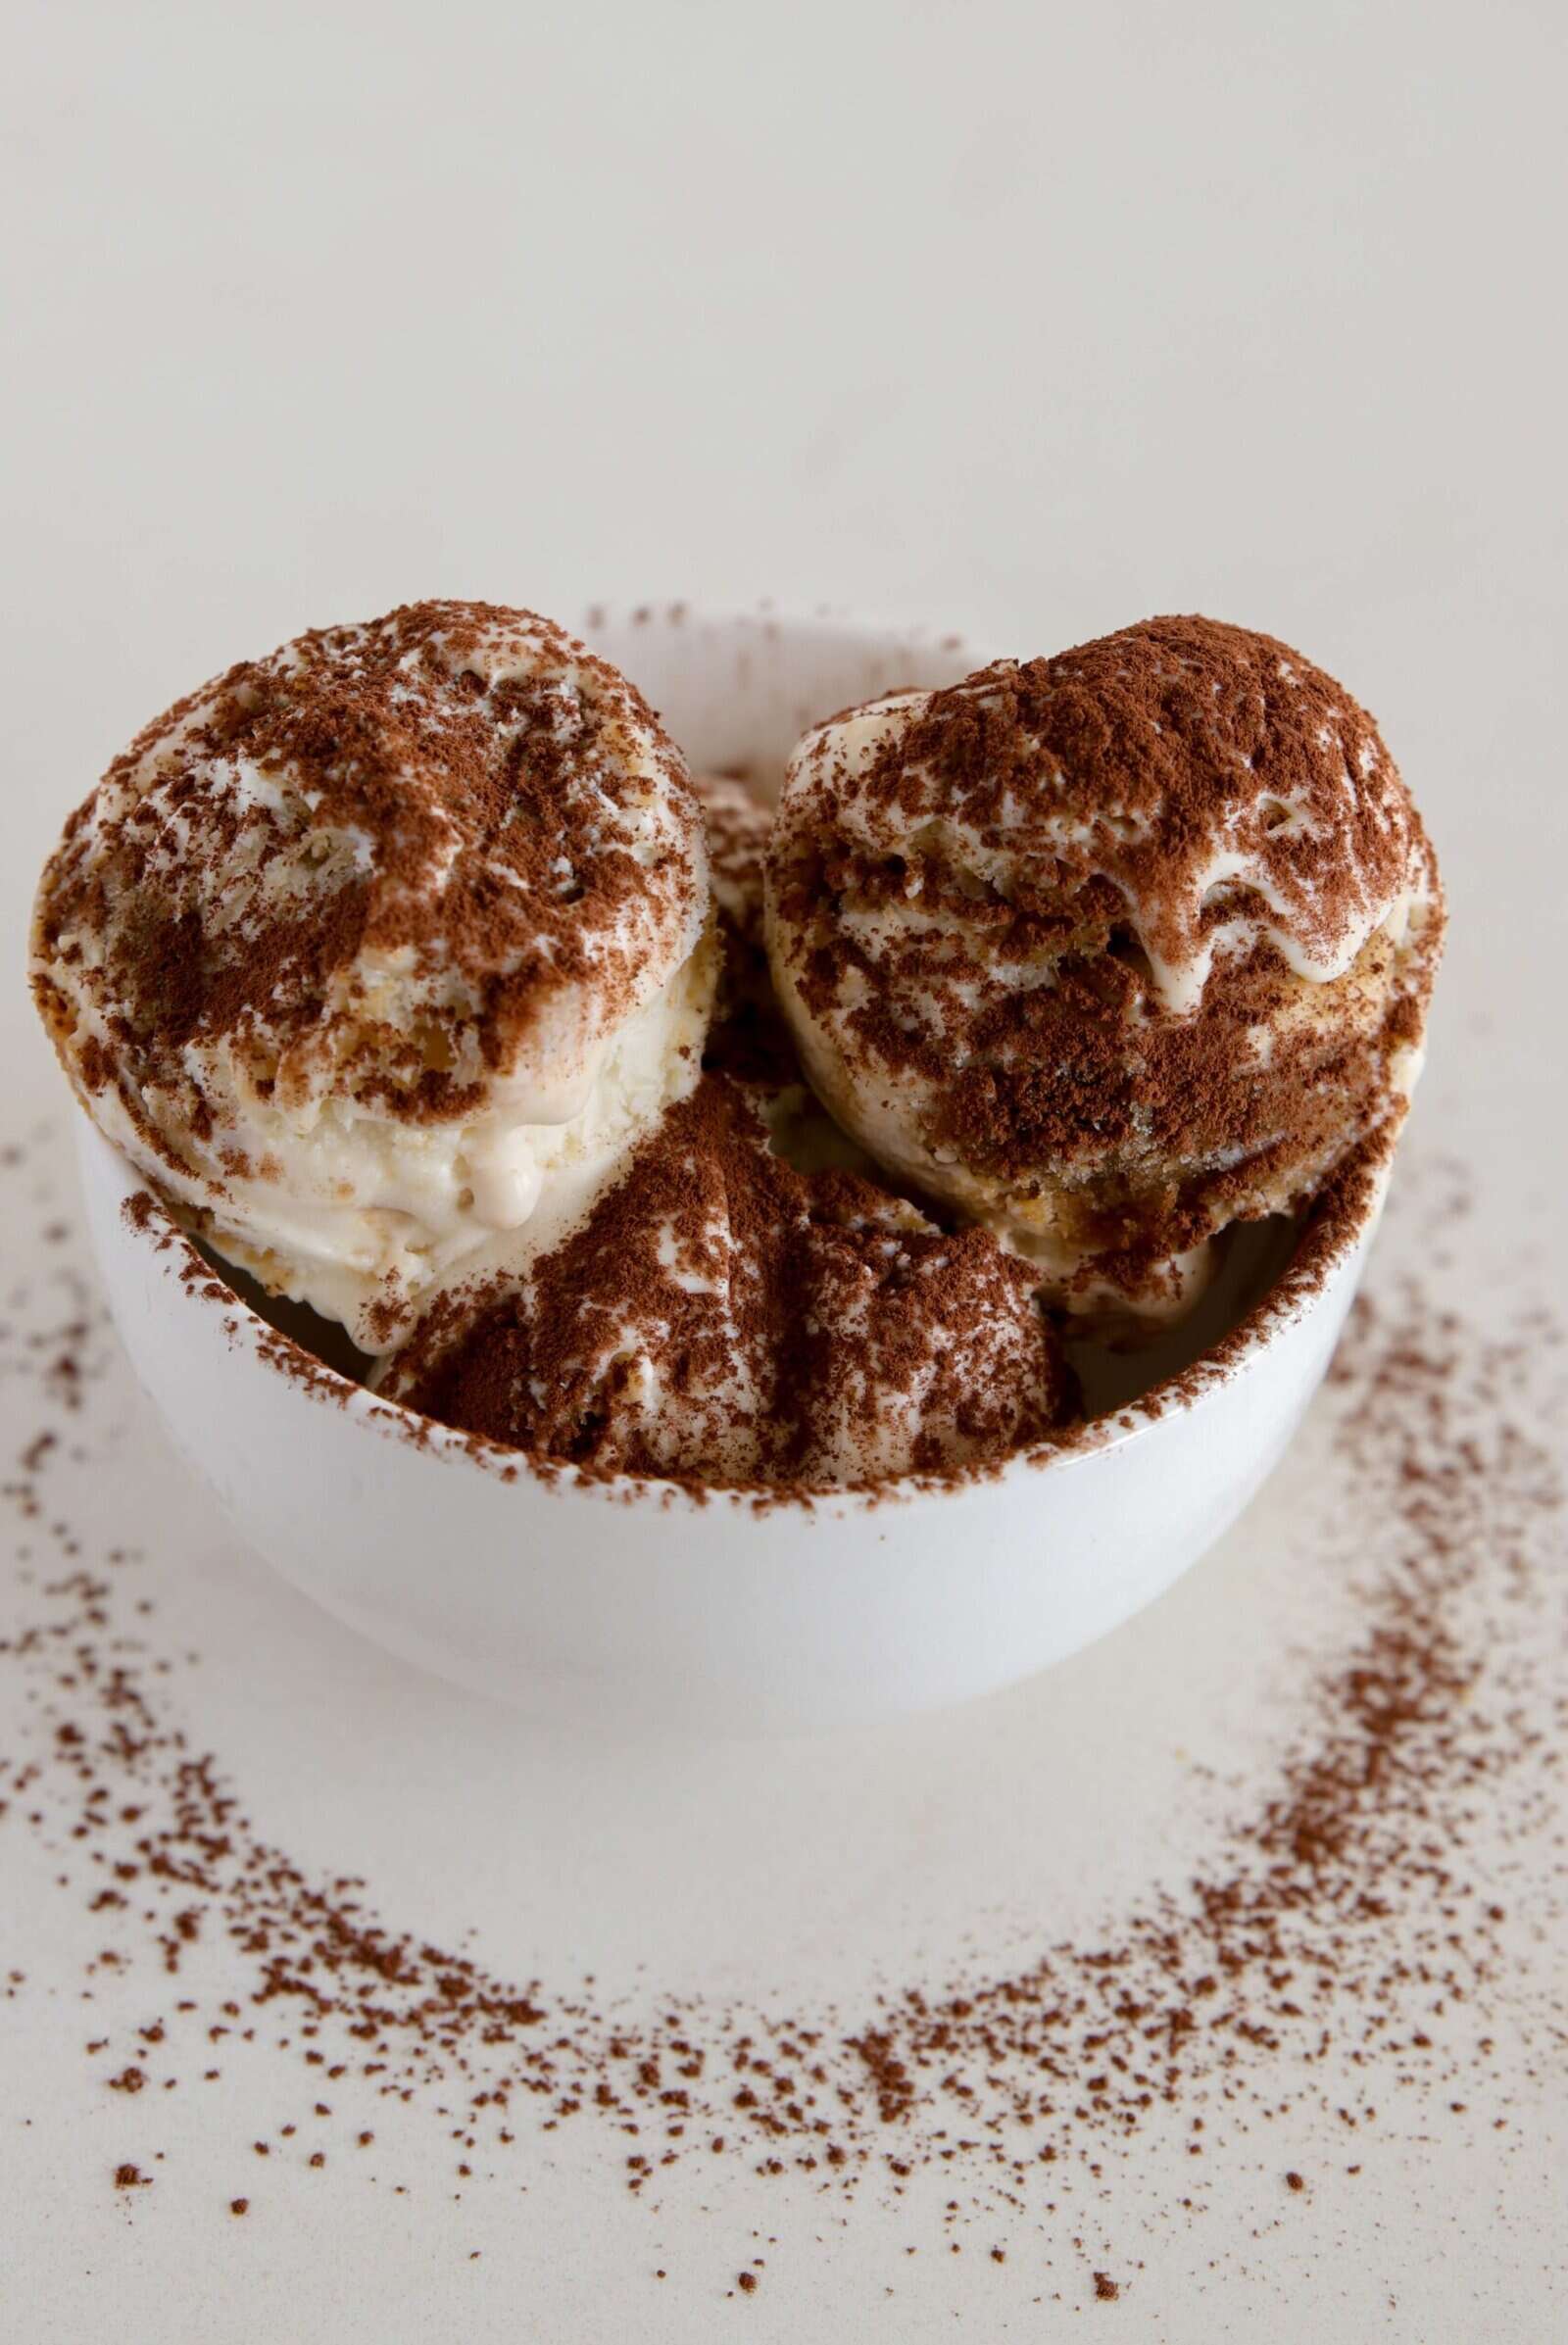
- Add cocoa powder on top just before serving for a better flavor and effect.

What to Do With Leftover Mascarpone
Mascarpone is a creamy, slightly tangy cheese and can be used in many delicious dessert recipes. These are our favorites:
How to Store
In a typical home freezer Tiramisu ice cream can be stored for about 1 to 3 months without a significant loss in quality. Here are some tips to ensure the best storage:
- Air-Tight Container: Transfer the Tiramisu ice cream to an airtight container. This helps prevent ice crystals from forming and reduces the risk of freezer burn.
- Press Plastic Wrap: Press a layer of plastic wrap directly onto the surface of the ice cream before sealing the container. This helps minimize air exposure and further protects against freezer burn.
- Storage Environment: Store the ice cream at the back of the freezer, where temperature fluctuations are minimized. Avoid placing it in the freezer door, where temperature changes are more frequent.
- Avoid Frequent Thawing and Refreezing: Repeatedly thawing and refreezing the ice cream can lead to the development of ice crystals and a change in texture.
- Label and Date: Remember to label the container with the date it was made. This helps you keep track of how long it has been stored.
After the recommended storage time, the ice cream may still be safe to eat, but its quality might decline with potential changes in texture and flavor.
More Ice Cream Recipes

Easy Tiramisu Ice Cream Recipe
Equipment
Ingredients
- 1½ cups (360 ml) Heavy cream cold
- ¾ cup (180 g) Mascarpone
- 1 can Sweetened condensed milk 400g/14oz
- 1 teaspoon Vanilla bean paste/extract
- 6-8 Ladyfingers homemade or store bought
- 1-2 tablespoons Instant coffee
- 1 cup (240 ml) hot water/milk
- Cocoa powder for serving
Instructions
- In a bowl, place instant coffee, add hot water/milk and mix. Set aside to cool.
- Place heavy cream and mascarpone cheese in a bowl, whip to stiff peaks. Add condensed milk, vanilla bean paste and mix until combined.
- Break each lady finger into 3-4 pieces and dip in the coffee. Place soaked biscuits to the ice cream batter and gently fold.
- Transfer the batter into a freezer safe dish and freeze for at least 6 hours or overnight. Before serving allow to sit in room temperature for about 5-10 minutes.
Video
Notes
- Watch the Video Recipe – For a better understanding of the recipe, I recommend watching the step-by-step video tutorial.
- Check the FAQs – If you have any questions about ingredient substitutions, cooking methods, or storage tips, be sure to check the FAQs section located under the recipe card and the post above.
- Storage – Freeze the homemade ice cream in an airtight container and in the coldest part of the freezer to avoid temperature fluctuations and retain the best texture. Keep up to 3 months.
- For the best texture – Whip the cream to stiff peaks to give the ice cream a soft and airy texture. When adding cookie butter to the ice cream batter, fold in carefully to keep the mixture light and airy.
- Nutrition Information – The provided nutrition values are for 1 serving of ice cream. This recipe makes about 20 servings.
- Topping – Add cocoa powder on top just before serving for a beautiful presentation and extra flavor to complete the tiramisu effect.
- Tip for Serving – Let the ice cream sit at room temperature for about 5-10 minutes before serving, to achieve the perfect scoop.
- Tip – Do not soak the ladyfingers for too long in the coffee or they’ll get too mushy and make the ice cream watery. Make sure the coffee is completely cooled down before dipping the ladyfingers, to avoid the heat flatten the airy cream.
Nutrition
Common Questions
Mascarpone is a key ingredient in this recipe, but if you can’t it, you can use Greek yogurt or cream cheese in its place.
Due to the high fat content in cookie butter, this ice cream might be a bit heavy. You can replace 1/4 of the heavy cream with milk, and add it after whipping the cream.
We use instant coffee but you can use your favorite espresso, or even use flavored coffees like caramel or hazelnut for a different twist.
If you can’t find ladyfingers, you can use other similar cookies with an airy texture that can easily absorb liquid.

")
")


")

Hi,
I absolutely love your tiramisu ice cream. Can you please email me your tiramisu recipe. It looks absolutely amazing.
Have a great day thank you!
Joanne
love your recipie
Absolutely delicious ice cream! No reason to spend so much money when you can make it at home without an ice cream maker. Saved this recipe—thanks!